How to use Slack and Airtable to easily collect swag information
Star a message in your community Slack to kick off a flow that collects swag info from a helpful developer.

Patrick Woods
February 18, 2020

Whether it’s stickers, t-shirts, and socks, or donations, sponsorships, and carbon offsets, community members always appreciate being recognized for their contribution.
But outside of events where everyone gets the same bag-o-swag, most teams struggle with managing the end-to-end process from recognition to delivery.
You might’ve asked yourself questions like “Have we missed any key community contributions this week?” and “Did we actually send that person swag or did we forget?” And the back-and-forth of getting someone’s mailing address or t-shirt size can be a real pain.
Fortunately, there are ways to automate parts of the swag management process so you can focus on identifying fans and ambassadors, and increase the Love across your orbits.
In this blog post, I’ll show you step-by-step how to send a swag collection form to someone who makes a helpful comment in your community Slack.

As with our last tutorial, How to get a Slack notification when someone stars your GitHub repository, we’ll be using Zapier in conjunction with Slack.
Overview
Here’s the high-level flow we’ll build in this tutorial:
- You or someone on your team stars a message in your community Slack.
- The details of that message are stored in Airtable.
- Each message is reviewed by you and approved by checking a checkbox labeled “Send Swag Bot”.
- A message is triggered to the author of the starred message with a link to an Airtable form to gather size and mailing information.
- The information from the Airtable form is saved inside a table where you can review.
This flow requires two separate Zaps, both of which we’ll cover below.
Prerequisites
Step 1 - Create an Airtable base called Swag Management
This base will store every message you star in Slack, and provide a form for gathering and storing swag size and shipping info.
To go along with this tutorial, we’ve created an Airtable base template that has all of the tables and columns you’ll need. Download the Airtable template here and create your own copy.
The base has 2 tables and each table has multiple views.
The first table is called Starred Slack Messages, and the first view is called All Starred Messages. This grid view shows every message you star in Slack.

You’ll notice a checkbox column called Send Swagbot. Clicking that will add the record to the second view in the Starred Slack Messages, which is called Swagbot Sent. More on this later.

The Second table is called Swag to Send, and the first view is called All Swag Orders.

This view lists all responses from the form in the table’s second view, called Request Swag.
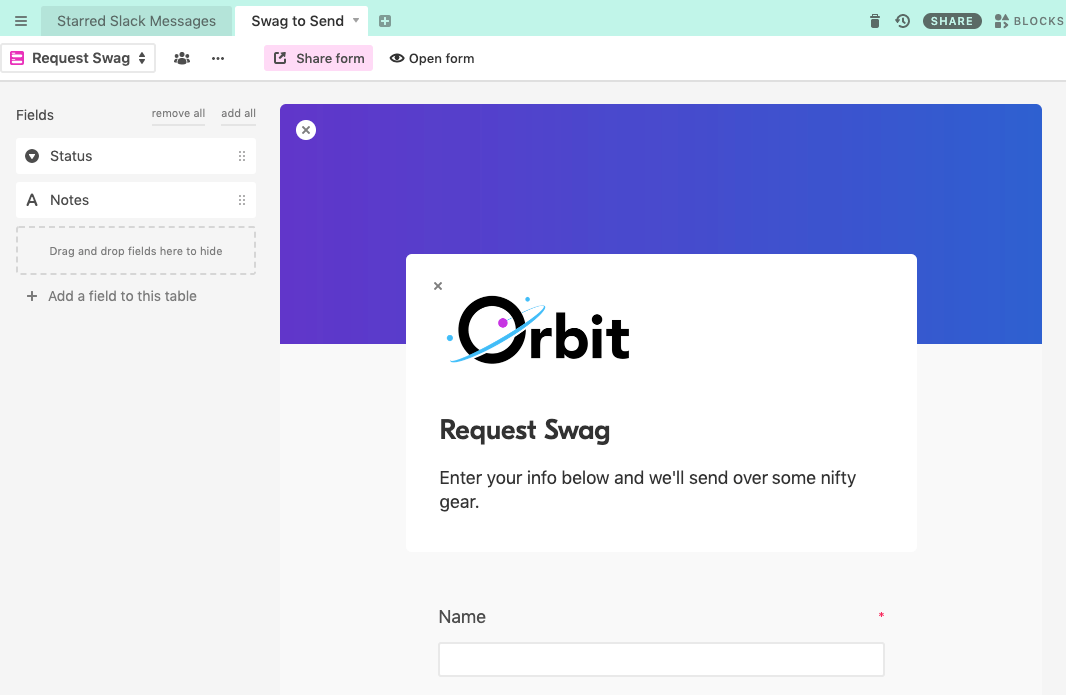
Here's what the full form looks like when users visit it. Of course, you can customize to your needs with your own branding and copy.
Download the Airtable template here.
Step 2 - Create a Zap
Zapier calls its workflows zaps. Click the orange Make a Zap button in the header to create one.
Step 3 - Create a Slack trigger
At the next screen, under “Choose App & Event”, search for Slack.
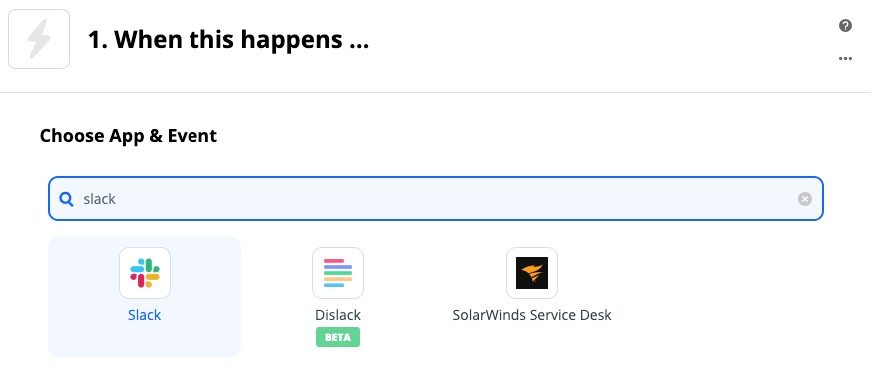
Click on Slack. Once the dialog refreshes, open the Choose Trigger Event dropdown and choose New Starred Message.
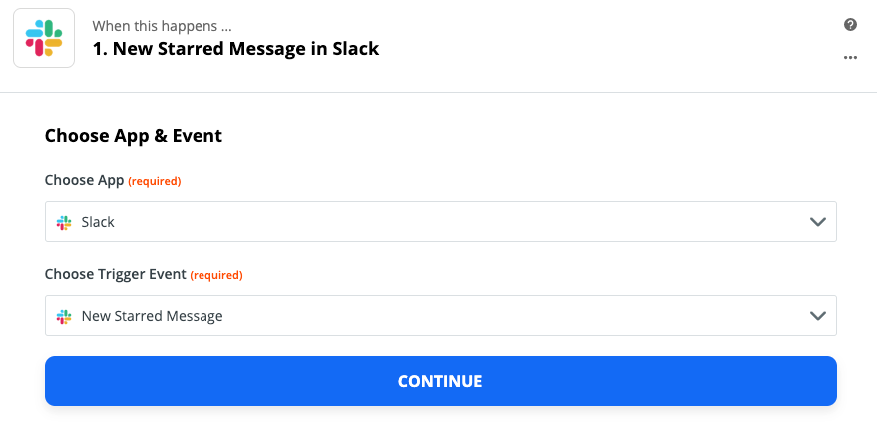
Click Continue. Next, you’ll need to connect your Slack account.
If you haven’t done this yet, expand the Slack account dropdown and choose Add a New Account. You will go through an authentication flow in a new window, and you will need to grant Zapier the permissions that it needs.
Click Continue a second time.
With your account connected, you’ll have the chance to test the data Zapier gets back from Slack.
❗ Before you test, go to the Slack account you connected, and star one of your recent messages. This will simplify the testing of this Zap.
Click Test & Review, then review the data to find your recently starred message.

If everything looks good, click Done Editing.
Step 4 - Configure an Airtable action
Click the + beneath the Slack step and search for Airtable. Choose Airtable and choose Create Record in the next dropdown.
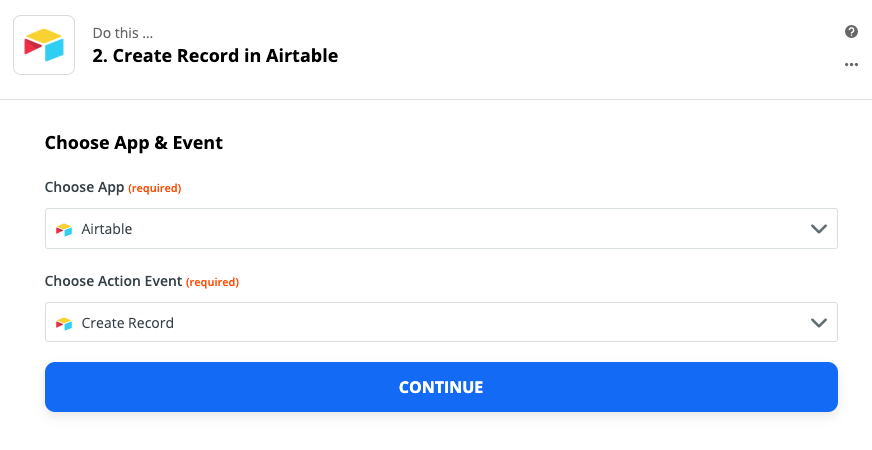
Click Continue. Choose or configure your Airtable account similar to how setup Slack in the prior step. Again, click Continue.
You should now see a form titled Customize Record.
In the previous step, we set up a trigger that watches for starred messages in the account we selected. In this step, we’ll save details of that message to the Airtable we created in Step 1.
You should see rows here for each column of your table. To populate each row with data from your starred Slack messaged, click the + icon at the right end of each row, then search for the relevant mapping.
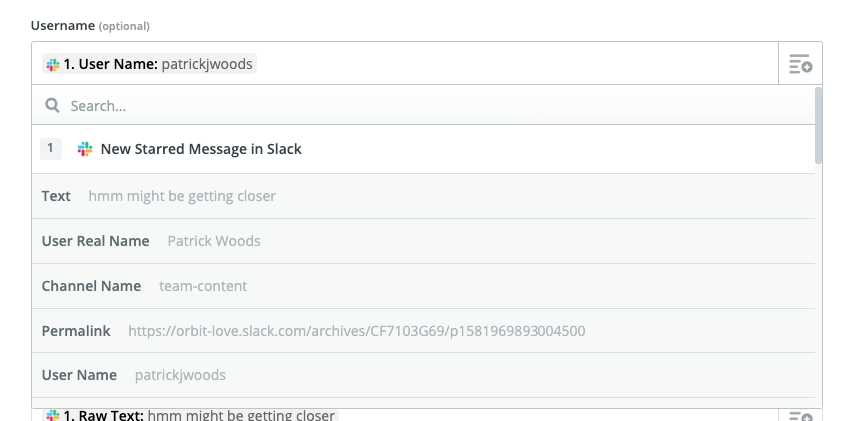
See the image below for mapping. The only empty field should be Send Swag Bot.
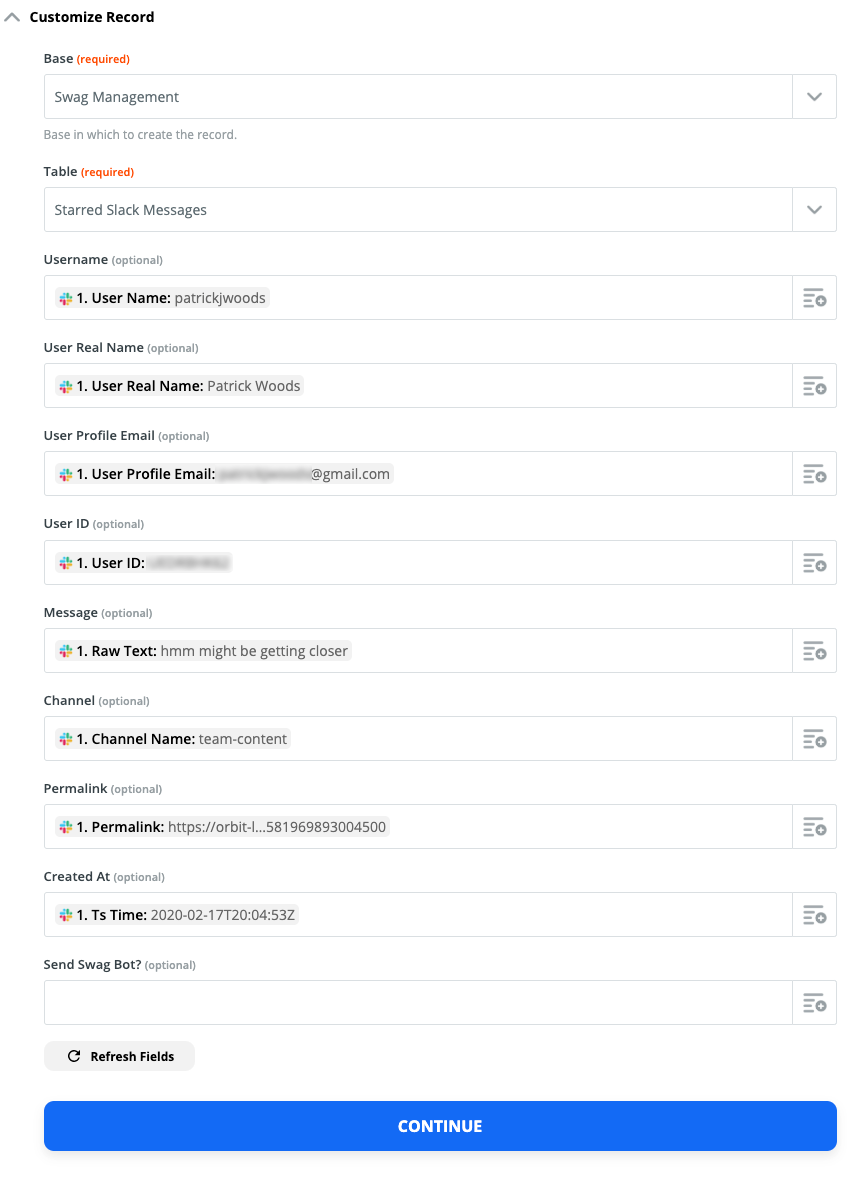
Click Continue.
Step 5 - Test the integration
Once you have the fields mapped, click Test & Review. Then open your Airtable. If everything worked, you should see a row populated with the test data pulled from Slack.

Click Done Editing at the bottom of your Zapier flow. You should now get a message about turning the zap on. Click the button and it should change from grey to green.
If you haven’t named your zap yet, you should give it a memorable name like, Send Starred Slack Message to Airtable.
☕ Intermission
Great work! You’re now tracking starred messages from Slack in your Airtable base. In the next section, we’ll use that data to trigger a swag bot in Slack, which will reach out to relevant community members to gather their swag info.
In this example, we’ll collect t-shirt preferences and mailing info, but this process can be customized for any kind of swag or information.
Step 6 - Create a second Zap
Click the orange Make a Zap button in the header to create one. We’ll now connect your Airtable back to Slack.
Step 7 - Create an Airtable trigger
Under “Choose App & Event”, search for and select Airtable.
Once the dialog refreshes, open the Choose Trigger Event and select New Record in View.
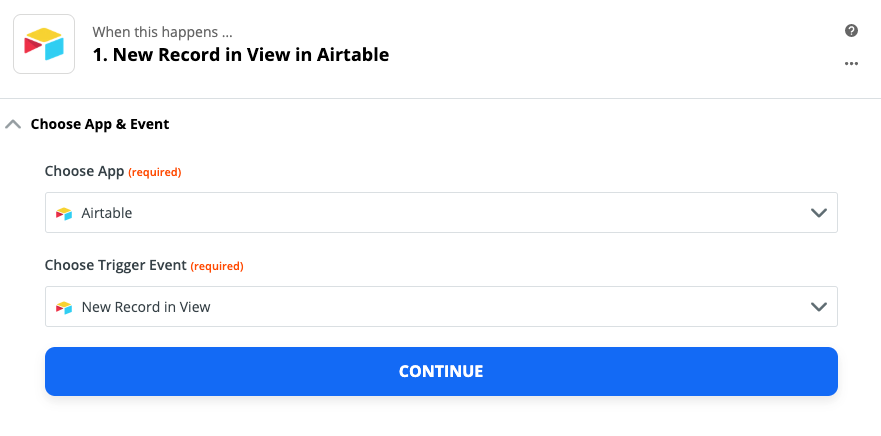
Click Continue. Next, you’ll need to select your Airtable account and click Continue.
In the Customize Record dialog, select the Swag Management base, the Starred Messages, and the Swagbot Sent view.
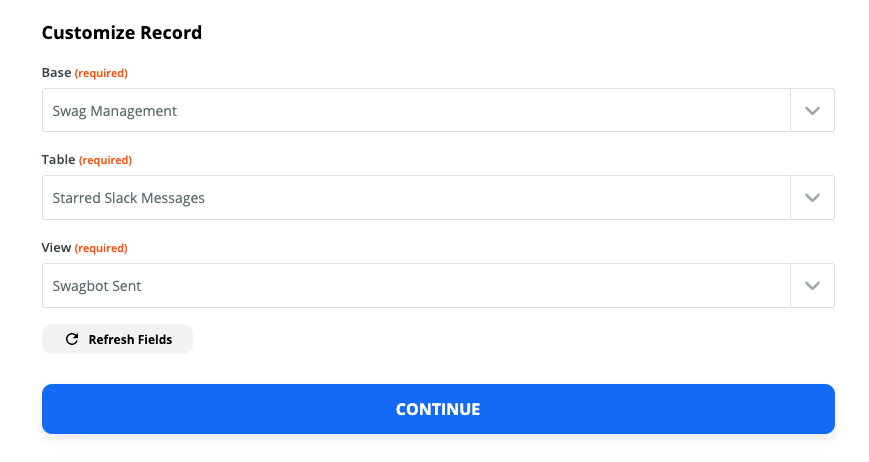
You might remember that the Swagbot Sent view only shows records for which you or your team checked the Send Swagbot checkbox.
In other words, clicking that checkbox in the All Starred Messages will trigger the actions in the nexts step.
Click Continue.
❗ Before you continue, go to the Airtable and check Send Swagbot for one of your records. Be sure that the record you select includes your username. Otherwise you won’t be able to test the integration later.
Under Find Data, select a recent record and click Done Editing.
Step 8 - Configure a Slack action
Click the + beneath the Airtable step and search for Slack. Choose Slack and choose Send Direct Message in Slack in the next dropdown.
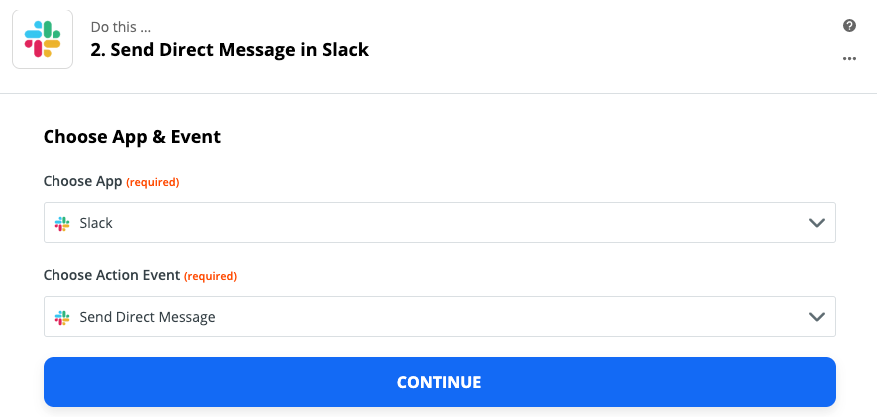
Click Continue and select the Slack account you want to use. It should be the same one you used in prior steps. Again, click Continue.
You should now see a form titled Customize Message. This is where we configure how the message to Slack looks and what data goes inside of it. There are a lot of options, so we’ll go through the important ones step-by-step.
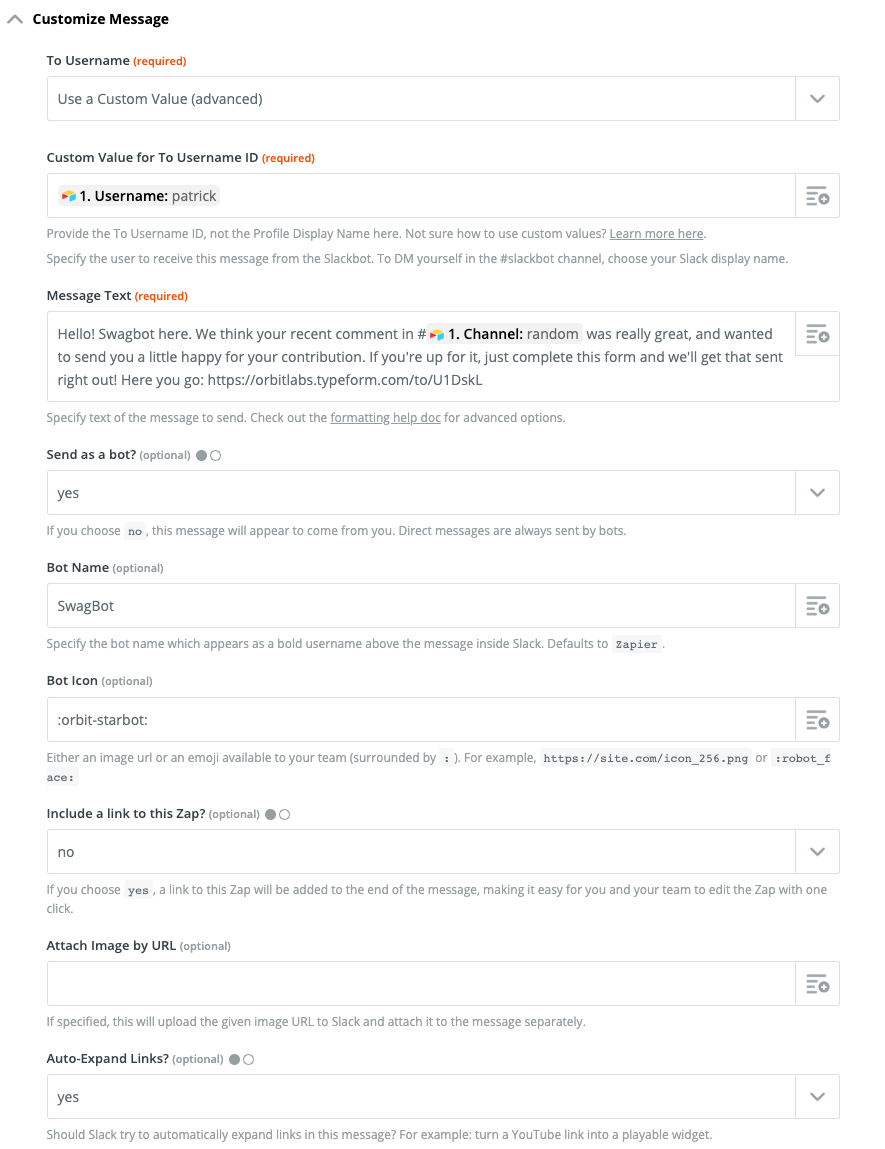
To Username - select Use a Custom Value. This will let you DM the user reference in your spreadsheet.
Custom Value for To Username ID - add the Username field from your Airtable.
Bot Name - you can name it whatever you want, but we like SwagBot.
Bot Icon - if you want to use our SwagBot icon, download it here and add it as a custom icon called :orbit-swagbot:.
Message Text - In this textbox, you will build the contents of the message you’d like to send, including variables. In our example, we reference the channel where the notable comment occurred.
You should also include the URL of your Airtable form.

Here's text you can copy and paste, just delete the double braces and add the corresponding variables there.
Hello! Swagbot here. We think your recent comment in #{{ channel }} was really helpful, and wanted to send you a little something for your contribution. If you're up for it, just complete this form and we'll get that sent right out! Here you go: {{ form link }}
Step 9 - Test the integration
Once you have all the fields like you want, click the big blue Continue button again. Then open your Slack application and click Test & Review.
You should receive a message in your Slackbot channel that looks something like this:

Click Done Editing at the bottom of your Zapier flow and turn it on.
If you haven’t named your zap yet, you should give it a memorable name like, Send SwagBot Message To Slack based on Airtable Checkbox.
✨ Bonus: only send swag to VIPs
If you have a large community, you might not be able to send swag to every single person who adds a helpful comment, so you might want to prioritize swag sends based on a person’s reach in the community or the frequency of their commits.
Using Orbit’s Developer API, you could star all the messages you want, but only send the swag form to devs with a Reach or Love score of 4 or greater, for example.
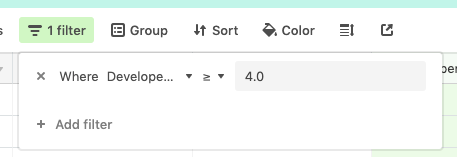
The Orbit API is currently in private beta. If you'd like early access, drop us an email to hey@orbit.love or subscribe below to get updates.
Wrap up
As your community grows, automated workflows with smart developer data can r cut down on manual tasks like managing swag, allowing you and your team to focus on building more meaningful relationships.
Follow along for more blog posts that show how to implement these workflows using tools like Zapier, Orbit, Slack and more. If you have a favorite workflow or would like you'd like to see us write about, drop us a line at hey@orbit.love or ping us on twitter @OrbitModel and let’s chat.
You might also like:
- Why Orbit is Better Than Funnel for Developer Relations
- DevRel teams need tools and models created specifically for our discipline, and not just those adopted from other fields.
- Slack vs Discord vs Discourse: The best tool for your community
- An in-depth comparison of 3 top community platforms across dozens of factors.
- How we use Orbit to build Orbit
- A guide to how we use our product to build our community.

